Countertop Blenders
Simple, practical guidance for countertop blenders.
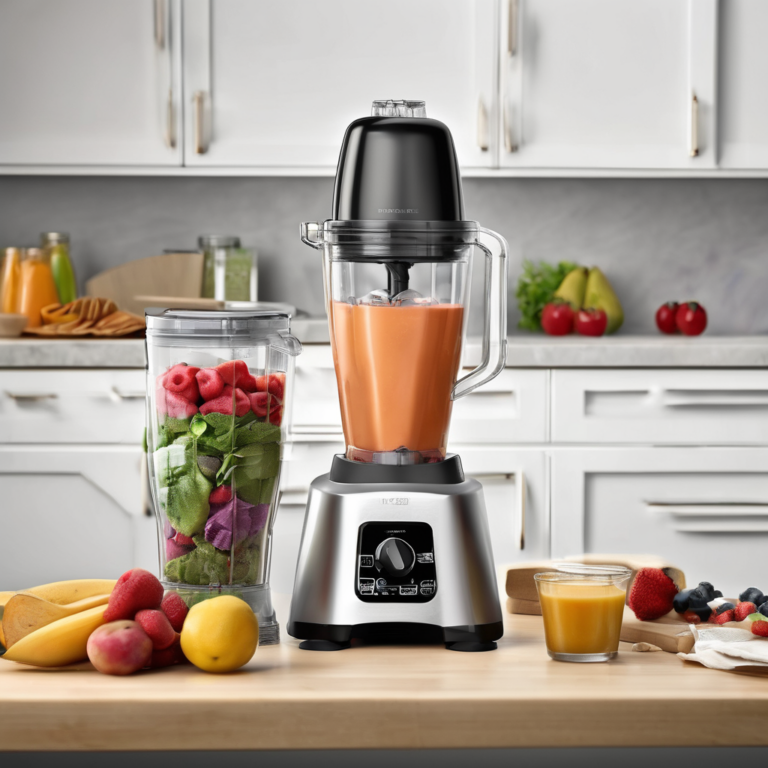
If you’re working on countertop blenders, you’re in the right place. This hub helps you understand the basics, pick the right next step, and avoid the common mistakes that waste time.
Use the cards below to jump to the most useful guides.
What you’ll get here
- Clear next steps for countertop blenders
- Beginner-friendly explanations that avoid jargon
- Common mistakes to avoid and what to do instead
- A simple plan you can follow in order
How to start (simple plan)
Start with one clear goal for countertop blenders. Then follow a simple sequence: (1) decide what you need, (2) choose the safest/easiest option that fits, (3) test it on a small scale, and (4) improve from there.
⚡ Quick Picks
Three strong options to start with. Pick one that matches your goal, then jump to the guides below.

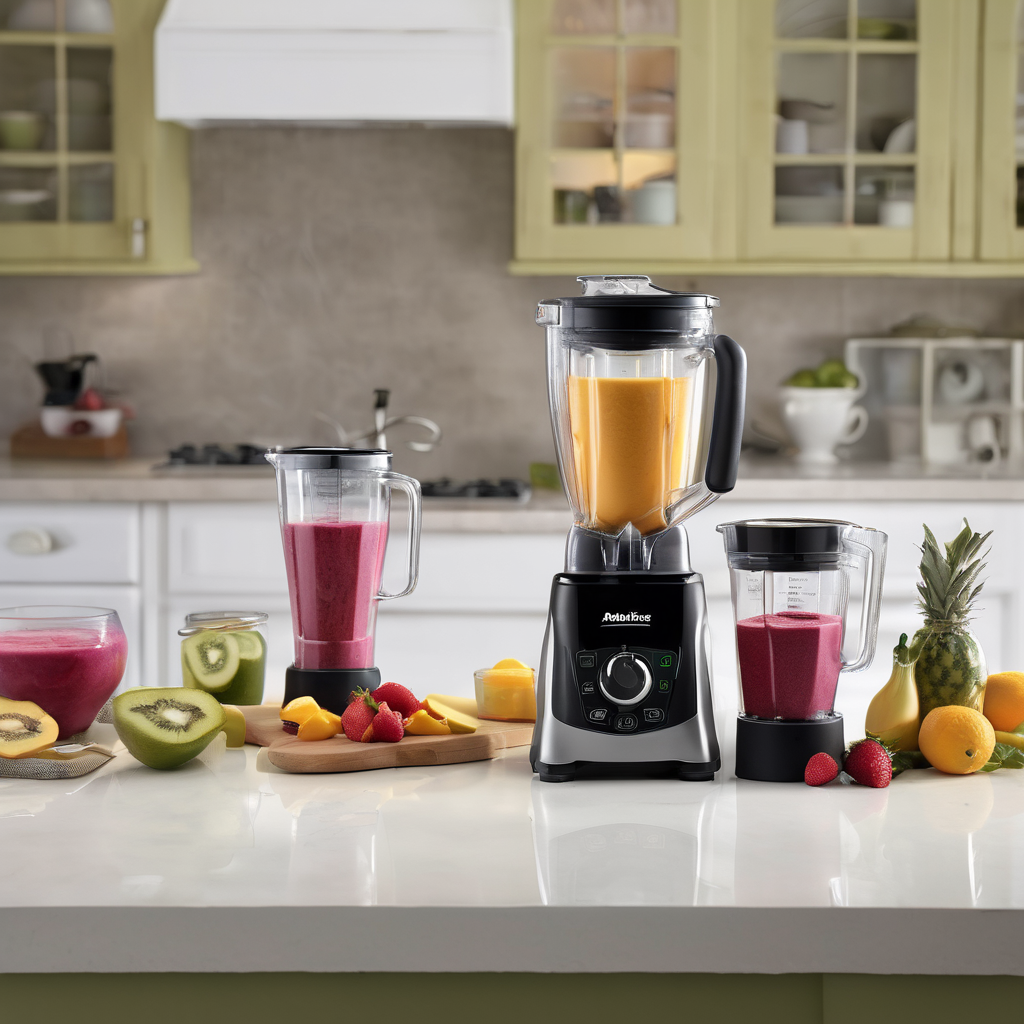
Ninja Professional Blender 1000W, Total Crushing Technology- Smoothies, Ice Crushing & Frozen Fruit, Full-Size Countertop Blender, 72-oz. Pitcher, Black & Grey, BL610
PROFESSIONAL POWER: 1000 watts of professional power can crush ice and breakdown…
XL CAPACITY: The 72 oz professional blender pitcher is excellent for making frozen drinks and creamy smoothies for the entire family. 64 oz. max liqui…
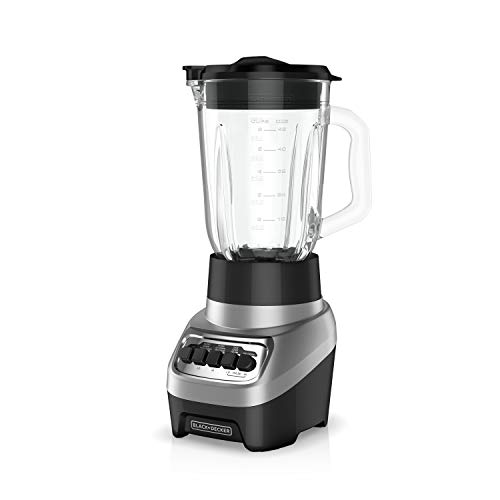
BLACK+DECKER PowerCrush Multi-Function Blender with 6-Cup Glass Jar, 4 Speed Settings, Silver
4-Tip QuadPro Blade Technology – The 4-tip stainless steel blending blade works…
4 Speeds – From smooth blending to powerful ice crushing, the four speed functions (low, hi, low pulse, hi pulse) can handle any job with ease from cr…

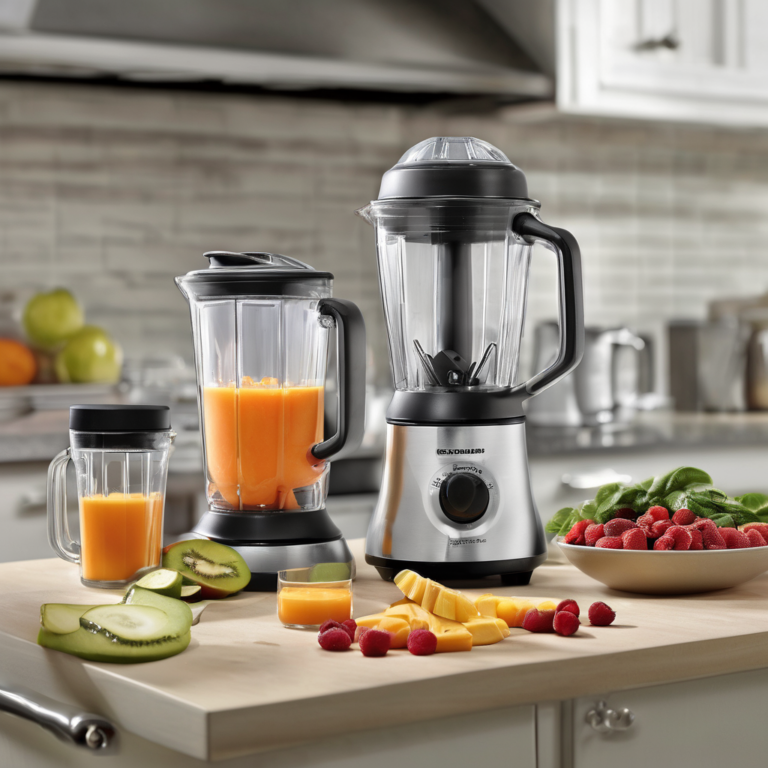
Ninja Professional Plus Blender | Max Power Smoothie Blender, Ice Cream Maker, Frozen Drink Mixer & Margarita Machine | 3 Auto IQ™ Presets, 1400 W, 72oz Total Crushing Pitcher | Dark Grey, BN701
MORE POWERFUL MOTOR: The Ninja Professional Plus Blender with Auto-iQ features a…
POWERFUL CRUSHING: Ninja Total Crushing Blades give you perfectly crushed ice for your smoothies and frozen drinks with 1400 peak watts of professiona…
We test and compare dozens of models to recommend only the best performers for your kitchen.
Choose Your Next Step
Glass Pitcher Blenders
Quiet Operation Models
Blender And Food Processor Combos
Latest Guides

Best Quiet Smoothie Blenders: 9 Top Picks for Daily Use
Discover the best quiet smoothie blenders designed to blend efficiently without disturbing your peace. These top picks combine performance with a noise-reducing design, making…

Best Glass Smoothie Blenders: 9 Top Picks for Daily Use
Discover the best glass smoothie blenders that can elevate your smoothie-making experience. These top picks combine functionality and style, making it easier to enjoy…
Best Countertop Blenders: 9 Top Picks for Daily Use
Discover the best countertop blenders designed to enhance your kitchen experience. Our selection features top models that cater to various needs, ensuring you find…
Best Home Smoothie Blenders: 9 Top Picks for Daily Use
Finding the right home smoothie blender can enhance your daily nutrition. Our roundup features top selections that cater to various preferences and needs.
How We Choose & Recommend
Short, practical guidance first—then product picks when you are ready.
- We compare features and real-world use cases for Countertop Blenders.
- We scan user feedback for patterns (not one-off opinions).
- We call out trade-offs so you can pick confidently.
FAQ
What’s the best first step for countertop blenders if I’m new to it?
Begin with a simple setup that matches how you’ll actually use it. Do one short test run, verify the result, and only then add extra features or steps. This approach prevents early mistakes and makes it easier to see what’s working.
What mistake causes the most trouble with countertop blenders?
Skipping the small checks that prevent big problems—like fit, alignment, safety steps, or basic settings. A 60‑second check before you start is usually faster than fixing an avoidable issue halfway through. If you’re not sure what to do next, compare your situation to a real example, then follow the closest match. This reduces mistakes and saves time.
How do I choose the right option for countertop blenders?
Choose based on your use case and constraints: where you’ll use it, how often, how much control you need, and any limits like space or noise. If two options seem close, pick the one with the clearest, simplest workflow. If you’re not sure what to do next, compare your situation to a real example, then follow the closest match. This reduces mistakes and saves time.
How can I improve results with countertop blenders without making it complicated?
Lock in the fundamentals first, then refine one small detail that clearly affects the outcome (settings, technique, positioning, or timing). Small improvements compound quickly when the base process is stable. To get reliable results, use a simple checklist: required steps, safety checks, and what to do if the result looks wrong. That keeps you moving without guessing.
When should I stop and get help with countertop blenders?
Stop if there’s any safety risk, if the same failure repeats after basic checks, or if you’re unsure about the correct procedure. It’s better to verify the right method than to push forward and create a bigger problem. To get reliable results, use a simple checklist: required steps, safety checks, and what to do if the result looks wrong. That keeps you moving without guessing.
⭐ Our Top 3 Home & Commercial Blenders Picks for 2026
Ninja Professional Blender 1000W, Total Crushing Technology- Smoothies, Ice Crushing & Frozen Fruit, Full-Size Countertop Blender, 72-oz. Pitcher, Black & Grey, BL610
PROFESSIONAL POWER: 1000 watts of professional power can crush ice and breakdown…
XL CAPACITY: The 72 oz professional blender pitcher is excellent for making frozen drinks and creamy smoothies for the entire family. 64 oz. max liqui…
BLACK+DECKER PowerCrush Multi-Function Blender with 6-Cup Glass Jar, 4 Speed Settings, Silver
4-Tip QuadPro Blade Technology – The 4-tip stainless steel blending blade works…
4 Speeds – From smooth blending to powerful ice crushing, the four speed functions (low, hi, low pulse, hi pulse) can handle any job with ease from cr…
Ninja Professional Plus Blender | Max Power Smoothie Blender, Ice Cream Maker, Frozen Drink Mixer & Margarita Machine | 3 Auto IQ™ Presets, 1400 W, 72oz Total Crushing Pitcher | Dark Grey, BN701
MORE POWERFUL MOTOR: The Ninja Professional Plus Blender with Auto-iQ features a…
POWERFUL CRUSHING: Ninja Total Crushing Blades give you perfectly crushed ice for your smoothies and frozen drinks with 1400 peak watts of professiona…
We test and compare dozens of models to recommend only the best performers for your kitchen.